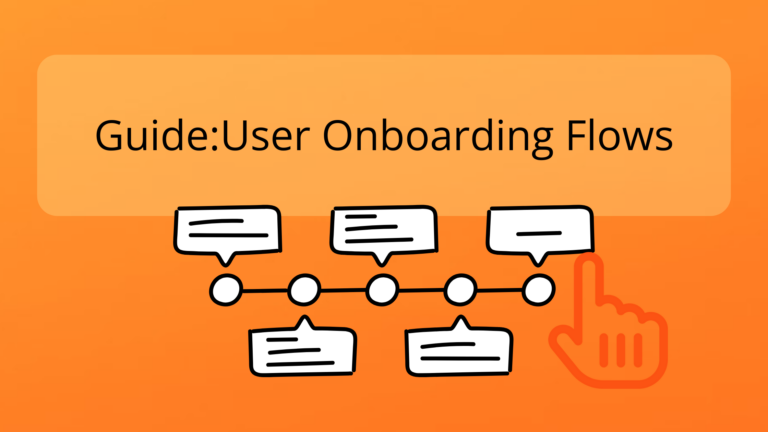
So… you’re creating a user onboarding flow for the first time?
Yes, it can be overwhelming, but not to worry. We’re here to help.
See what our experts recommend, and some common mistakes to avoid.
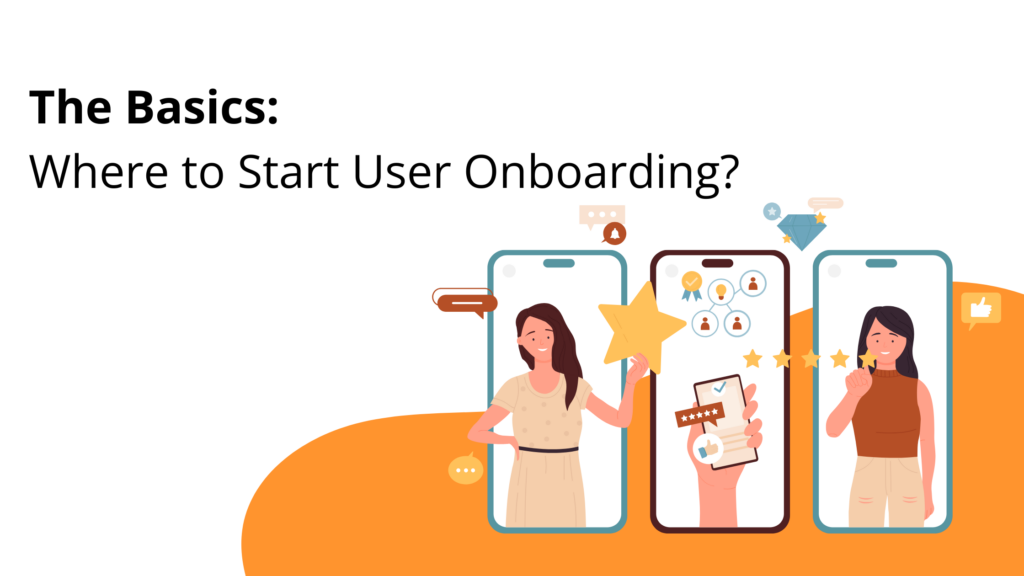
First things first.
Step one: Create a user journey
Plan out a user onboarding journey. This will help you determine the different courses of action your users will take to find value in your app.
Each onboarding flow will depend on your user’s goals and needs. As such, the highlighted features need to be introduced to show the most amount of value to users.
👀 Take a peek: The Step-By-Step Guide to Creating The Best User Onboarding Flow

Step two: Choose your onboarding tools
When you’re building user onboarding for the very first time, it seems natural to start with rich feature tours.
But from our experience, it’s much more efficient to start with less complex touchpoints instead. Why? Because you’ll see the impact on your KPIs faster.
Follow this checklist to get started in the right direction. You don’t have to create all the touchpoints in one go, it’s fine to spread it over a few days.
But we advise you to build all of them to see their compound effect on adoption KPIs.
- Welcome Tour
- Hints & tooltips
- Feedback widget
- Life Ring Button
- Feature Tours
Here’s a snapshot of each feature.
1. Welcome Tour
The purpose of the Welcome Tour is to welcome new users, explain the benefits of your application, and introduce its main features. Think of it as an overview rather than a deep dive. That’s what Feature Tour is for.
👀 Take a peek: Welcome survey: Game-Changers For Business Growth
2. Hints (aka Tooltips)
The advantage of hints is, that they are always accessible. They’re the perfect self-help tool because the user can engage with them when they need it.
The information that’s delivered is therefore highly contextual onboarding.
Start by creating hints for places where the user is likely to need more information.
👀 Take a peek: Onboarding Product Hints: Best Practices
3. Feedback widget
Setting up the Feedback widget takes less than 10 minutes and your users will be able to send you not only texts but also screenshots and videos. You can automatically forward these messages to your help desk.
👀 Take a peek: Unlocking the Power of Effective In-App Feedback
4. Life Ring Button
Life Ring Button is the single point of contact for everything your customer needs. Add Tours so your users can replay them, add links to your support documentation, and link your YouTube or your meeting scheduler.
Integrate any 3rd party chat widget so users have a single point of contact for all things support.
5. Feature Tours
Feature Tours describe a specific part of the application in a step-by-step manner. Each of your killer features deserves a tour. In some cases, even the app setup requires a guided walkthrough. Especially if it’s a process that takes multiple steps to complete.
In any case, start with one feature, make the tour work, and only then move on to the next feature.
👀 Take a peek: Interactive tours: How, What and Why
You don’t need to start with designing complex tours – start simple and keep tuning.
In a nutshell, onboarding features sum up:
- Hints are super-efficient and often overlooked features
- Feedback widget and Life Ring Button provide great service for your users and their set-up takes less than 10 minutes.
- When it comes to tours, the best practice is to create a Welcome tour first, then start adding Feature tours that teach your user how to use your app.
Step three: Test it out
The last step is to test it out to a piece of your audience. This will help you optimize the process and find opportunities to remove any misunderstandings.
Take into account the steps they’ve taken, missed, or enjoyed. By finetuning the app to your user’s needs, you can create a delightful onboarding experience.
Choose an onboarding tool that supports your growth
Product Fruits acts as an invisible layer on top of your platform. it allows you to add, alter, and optimize onboarding features with a click of a button- no coding required.
We empower your team with all the tools and customization needed to give your users a delightful onboarding journey that improves retention and conversion.
Try Product Fruits for free today, and see user retention improve immediately.