The ads, promo, content can only get you so far in trial conversion, the real action happens during onboarding.
There’s a moment in every company’s sales funnel where the fancy marketing content won’t be enough to drive conversion, and you need to reveal your app and show what’s under the hood.

If users are happy – you make the sale. If not, well…, then you lose all the money you have invested to get them to this point.
That’s what the free trial is about.
What is a good free trial conversion?
This depends on multiple factors such as the price of your product, how qualified your leads are, and how good your application onboarding process is.
If we look at the free trials without adding your credit card, the average conversion rate is 10% to 15%, but it can be much higher (Recapture, 25%) or lower (Salesforce, 4%).
The best way how to verify your free trial conversion ratio is to compare yourself with your direct competition.
When it comes to improving your conversion rate, the quality of your onboarding process will be crucial.
With strong onboarding you can improve the conversions very much, even multiple times, if you are on 10% you can take it to 20%. With perfect onboarding, this is easily achievable.
Or, take a look at how FitnessPlayer increased conversions by 50% ( yep, you read that right)
What is application onboarding?
When you have users not yet paying for your service, they’re learning their way around your app and thinking about whether it’s the right tool for their needs.
At this point, you’re at the finish line of the sales process – you’re finalizing the conversion from a free user to a paying customer.
If you lose the lead at this stage, you’ll also lose all costs of acquiring this person. Before this stage, you may have given the user a live session demo, or perhaps you called her and/or sent a few emails. Now, in the trial, it is up to the users to test the app themselves without much of your assistance.
Think about this: How many users would you convert, if you had a chance to sit next to them during the whole free trial period?
Probably a lot, right? Unfortunately, you won’t be able to sit next to them during the trial. So your app must provide strong onboarding features to help the user when you can’t.
Two common user onboarding challenges
Zero patience
Users do not have enough patience, and people’s attention spans have declined and will continue to decline.
I see that on myself as well. When I test a new app and I hit a snag, I never blame myself, instead, I point fingers at the app developers. And I quit…
Perfect UI myth
There is no such thing as a 100% intuitive design, where users will know what to do from the get-go.
If some wanna-be UI genius tells you that the app must be designed in a way it doesn’t need any guidance, ask him how he would feel driving the car for the first time without any instruction given prior whatsoever.
If your app is complex or creative (probably both), it will always present the user with the daunting challenge of learning the app.
So, let’s look at some specific tools that increase your free trial conversions.
The essential tools for the application onboarding
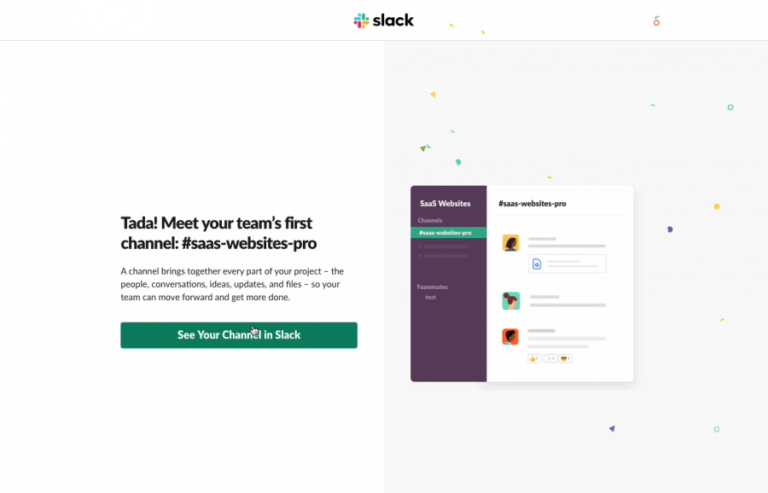
1. Step by step onboarding tours
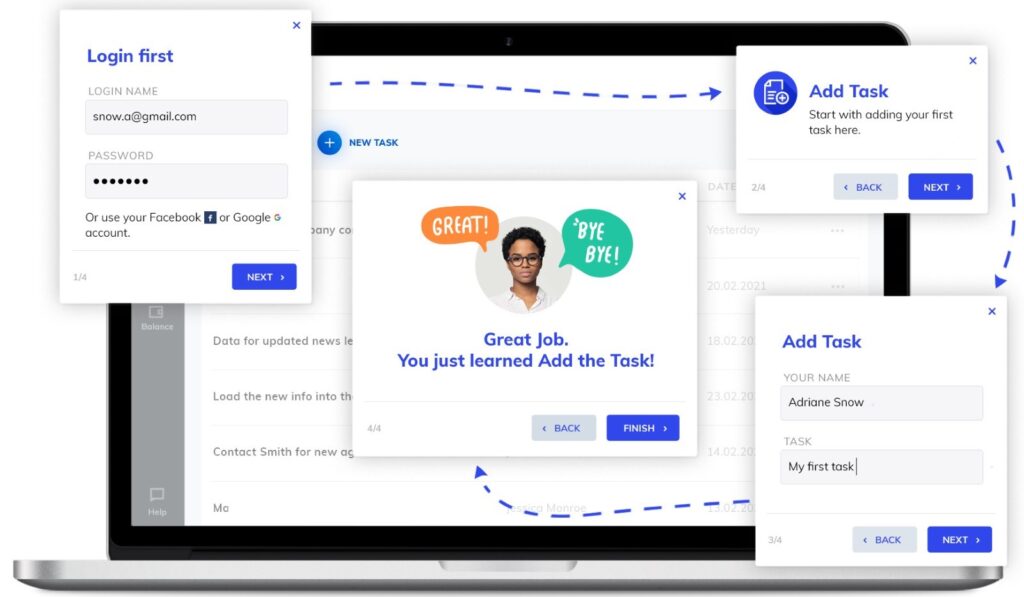
With tours, you can navigate the user in sequential steps through your app. Don’t try to explain the entire product in one tour.
Start with one Welcome tour to warm them up, motivate them, highlight your main unique selling points. Then you invite them to something we call Grand tour where you describe the whole app in several steps, focusing on main things and synergies. Then, via smaller Feature tours, you explain specific parts of your app.
At the beginning of each tour, tell the user what the tour’s purpose is and how many steps it has. Try to direct each tour to a specific goal or task, so the users see how the app solves their particular problems.
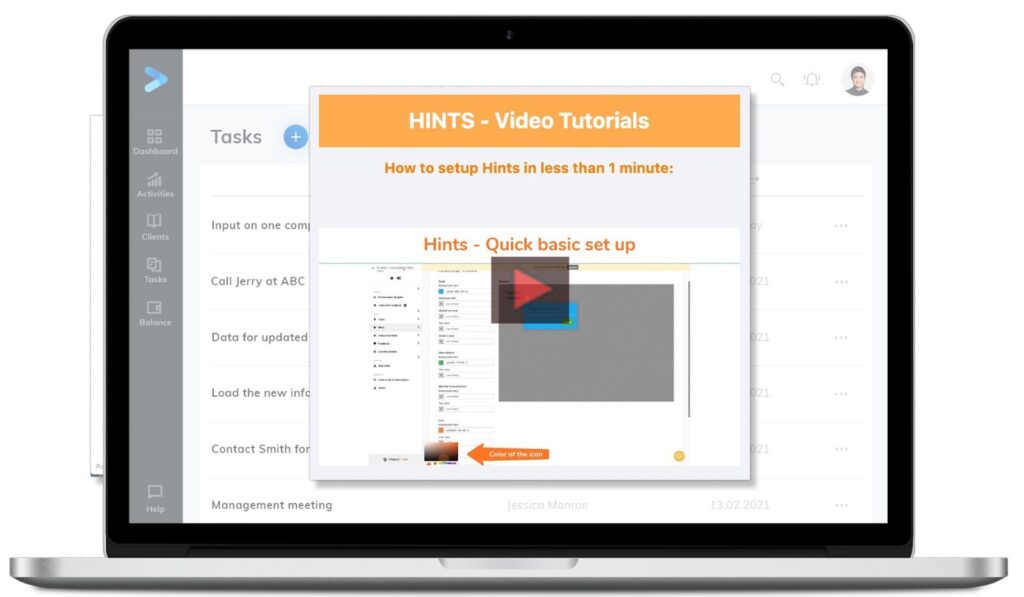
2. Hints
Place hints in your app that users can click on and obtain more information about a specific element. Try to keep the text in the hints short; if you have more information to share, it’s worth hyperlinking it. Use different media to make them more engaging; for example, pictures and animated gifs work great.
3. Announcements
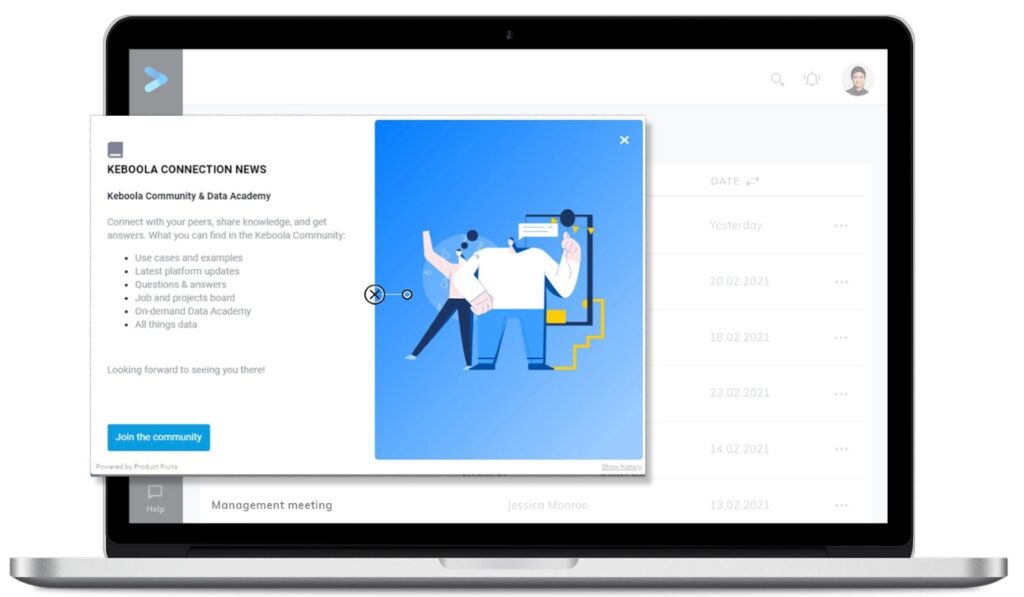
Release notes are a good form of announcements to tell your user, what’s new in the app, which bugs you squashed, which features you have added, or anything you think is worth mentioning. You shall also use Announcements to inform the users about how many days they have left in their trial period, planned maintenance, etc.
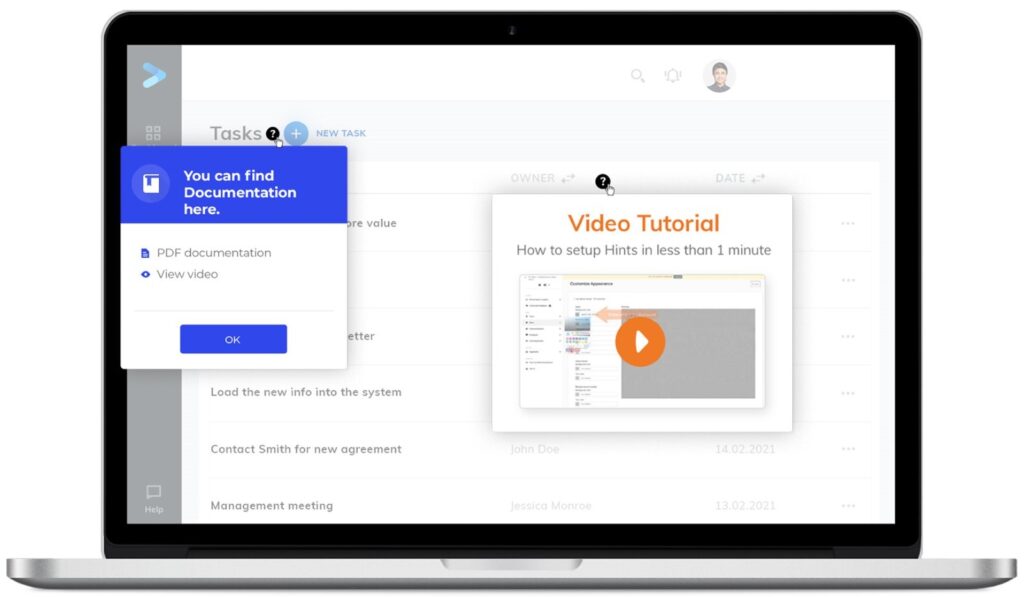
4. Video tutorials
You can offer informational videos and materials directly through your app to help your users understand it better.
One tip is to make a short one-minute “how-to” video where you show the user that your app is not as complicated as it might look at the beginning. Show them that although the app might look complicated, it’s actually easy and pretty straightforward.
5. Feedback
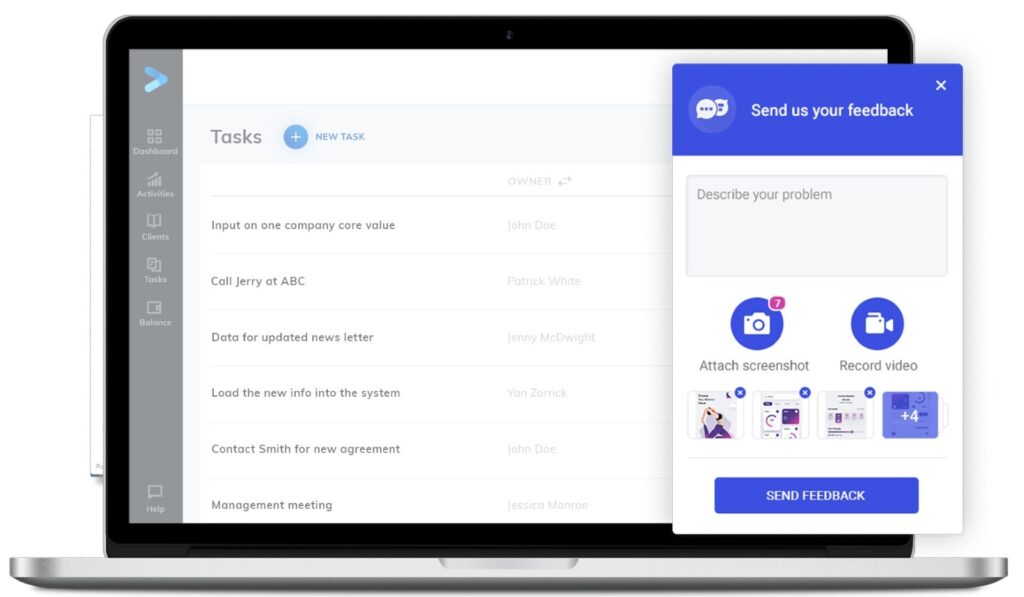
Implement an easily accessible tool for collecting customer feedback. Ideally, you want the customer to send you text and screenshots or short videos explaining what they don’t understand.
6. Adoption meters
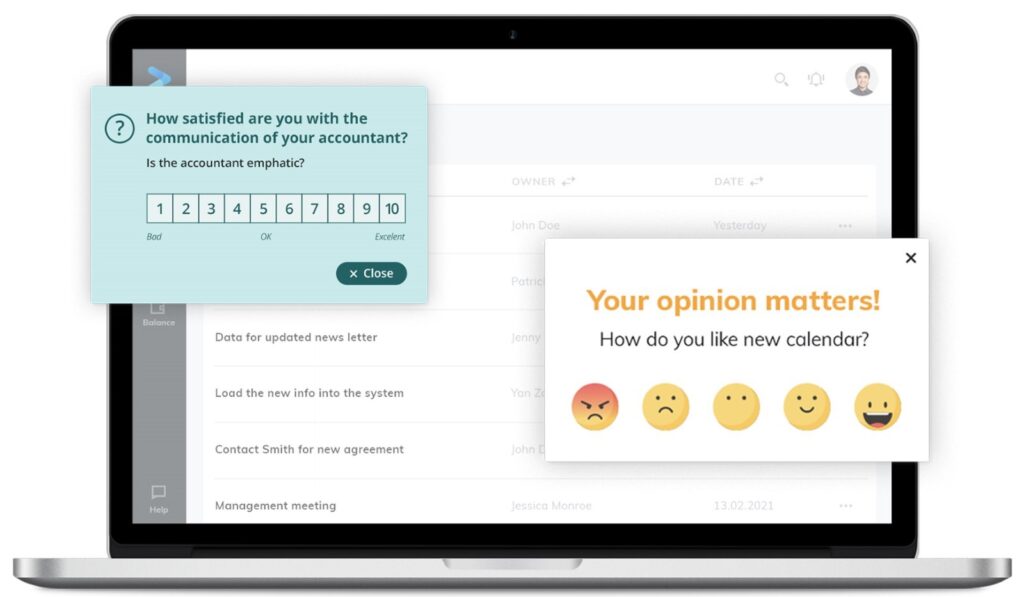
A specific part of the customer feedback will be the adoption meters; with them, you can simply ask your users what they like and what they don’t. If you give the users a chance to share their opinion, they will be more inclined to forgive bugs or issues in the app.
7. Chat
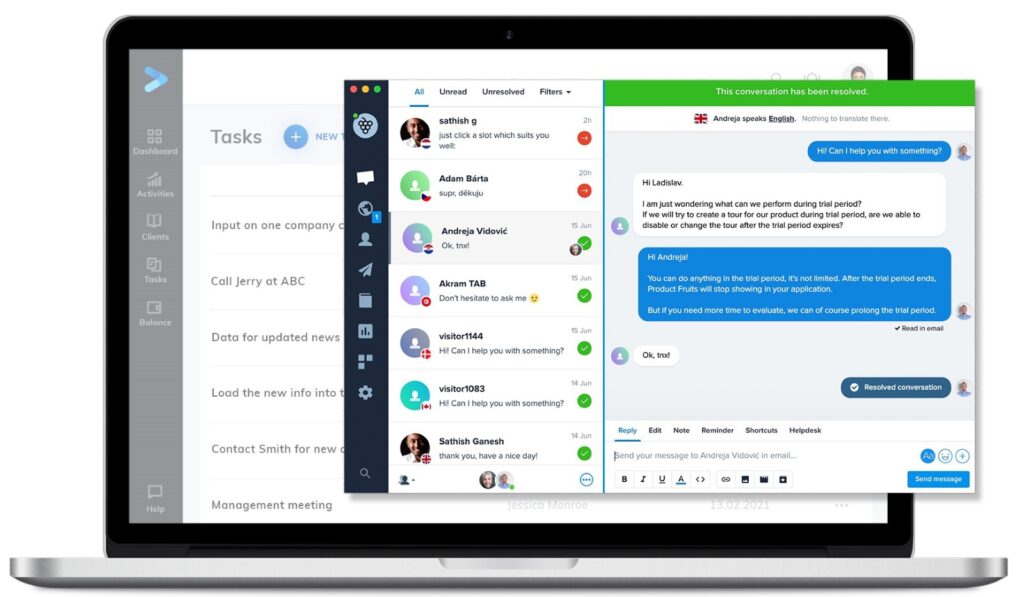
Install an efficient live chat tool in your app, and let your users know that you are available anytime they are using your app. This can be beneficial when a user needs an immediate answer.
Prompt response from your customer service team will go a far way toward earning the lead’s trust.
8. Analytics
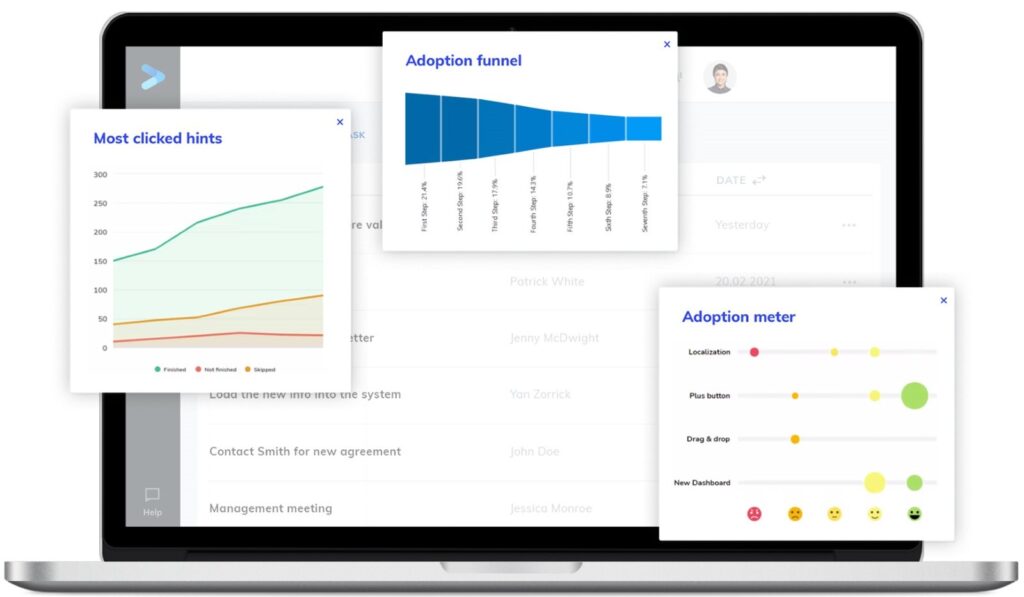
Follow the users’ interaction with the app during the onboarding phase, see precisely where you lose them during the tours, watch which hints are the most clicked, etc. Thereby, if a specific hint is clicked by a lot of users, it could mean that it’s a part of the app that people don’t understand well. Maybe you want to improve that part of the app or the boarding for that part.
Your Onboarding is the last step for conversion- make it count.
A properly made application onboarding process is becoming more and more critical as it has the most significant impact on the last part of the sales process – converting users from free trials to paying customers.
The in-app onboarding process is never-ending work that you’ll need to optimize concurrently with the app improving process. This is the place where you can significantly boost your revenues if you do it well. All you need is good design and strong tools.
Not using our no-code product adoption toolbox yet? Try it free here or book a demo with our product adoption expert